Unlocking KeePassXC with Nitrokey

After long wait, with KeePassXC version 2.7.6, we finally have Nitrokey 3 support! This means we can use a Nitrokey as an easy method for quickly unlocking a KeePassXC password database.
We can use a Nitrokey in combination with other security methods, in order to create a stronger lock. Alternatively, for convenience, you can use just the Nitrokey by itself. This would allow us to simply plug in the USB in order to unlock the password database.
You must be using KeePassXC version 2.7.6 or newer in order to use Nitrokey 3. We’re using a NitroKey 3A Mini, with firmware version 1.5.0 on Arch Linux.
If you don’t already have a NitroKey, you can get one at the link below.
Configure Nitrokey for use with KeePassXC
The first thing you need to do,
is add a challenge-response secret to your Nitrokey.
To do this, you need the python-pynitrokey package
Next, you need to pick a password that is exactly 20 bytes long. This can be done by picking a twenty character password, and running the follow command:
$ nitropy nk3 secrets add-challenge-response 2 $(echo your-20-byte-secret | base32)

Command line tool to interact with Nitrokey devices 0.4.39
Please touch the device if it blinks
Done
This converts our 20-character secret to base32, and stores it in slot 2 of our Nitrokey.
Use the following command to check that the secrets were added correctly.
$ nitropy nk3 secrets list

Command line tool to interact with Nitrokey devices 0.4.39
01. HmacSlot2	Hmac/Sha1
The last line shows there is a HMAC/SHA1 secret in slot 2. This is used for our KeePassXC challenge response.
You can store your 20-byte secret in your KeePassXC database itself, but it won’t help you if you lose/break your Nitrokey, since you won’t be able to unlock your database if you forget it. So make sure it’s something you won’t forget, or otherwise write it down and keep it somewhere safe.
We can now proceed with using it in KeePassXC.
New Database
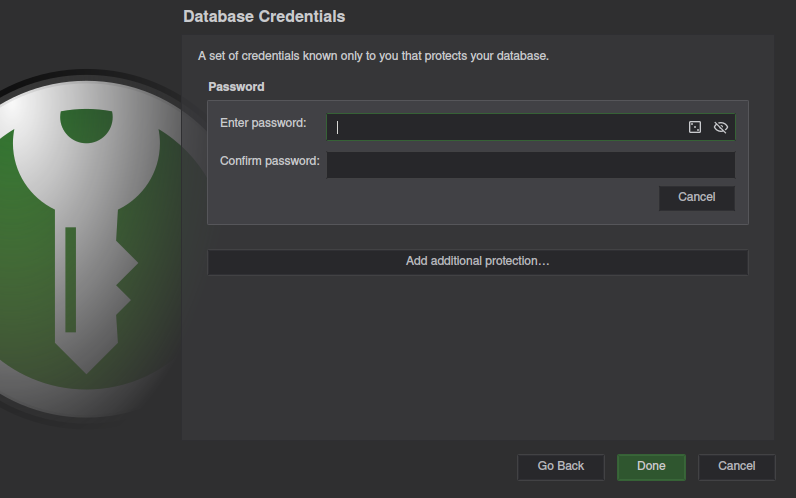
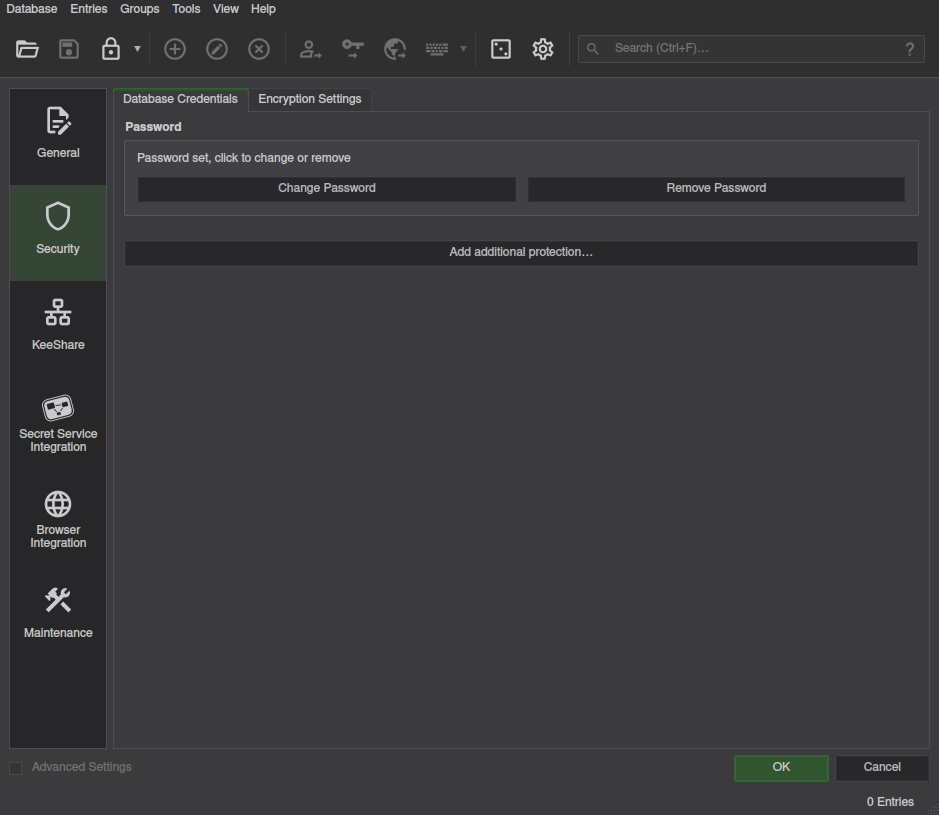
Create a new database as normal. Once you get to the “Database Credentials” section, the window will look like the one below.
Select Add additional protection...
and scroll to the bottom to find the Challenge-Response section.
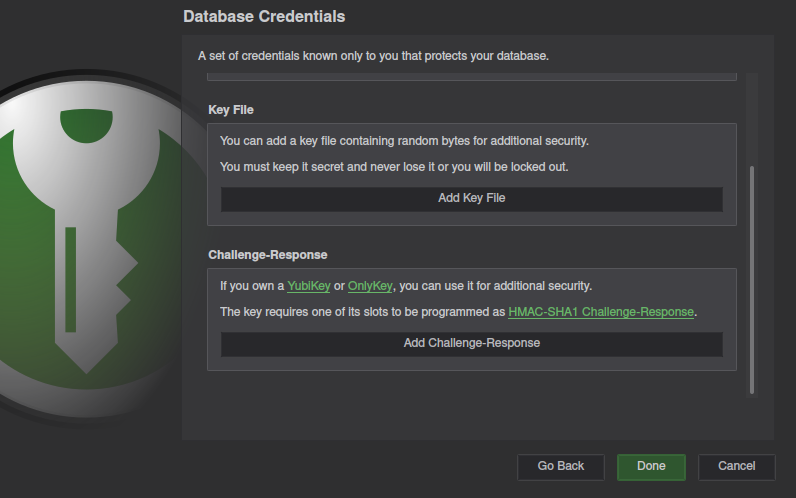
The UI still only says YubiKey/OnlyKey, but NitroKey will work.
Click Add Challenge-Response,
and make sure your NitroKey is listed.
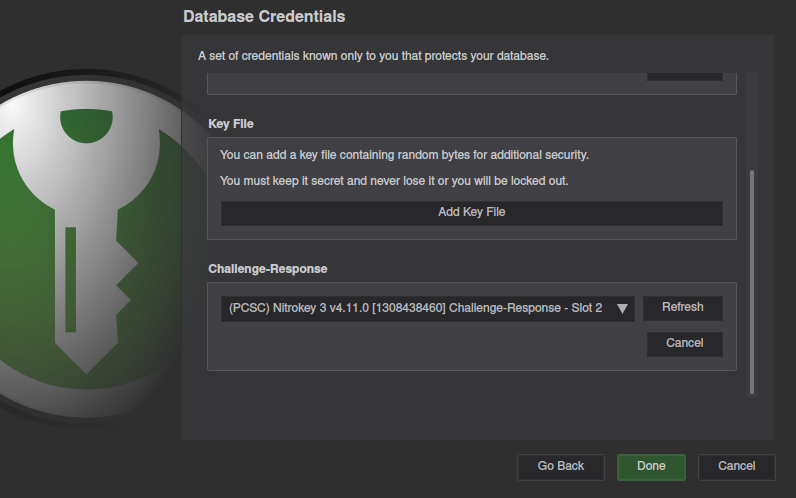
If your key is not listed, see the troubleshooting section below.
Not recommended, but you can press the cancel button under the password input, in order to require only the hardware Nitrokey.
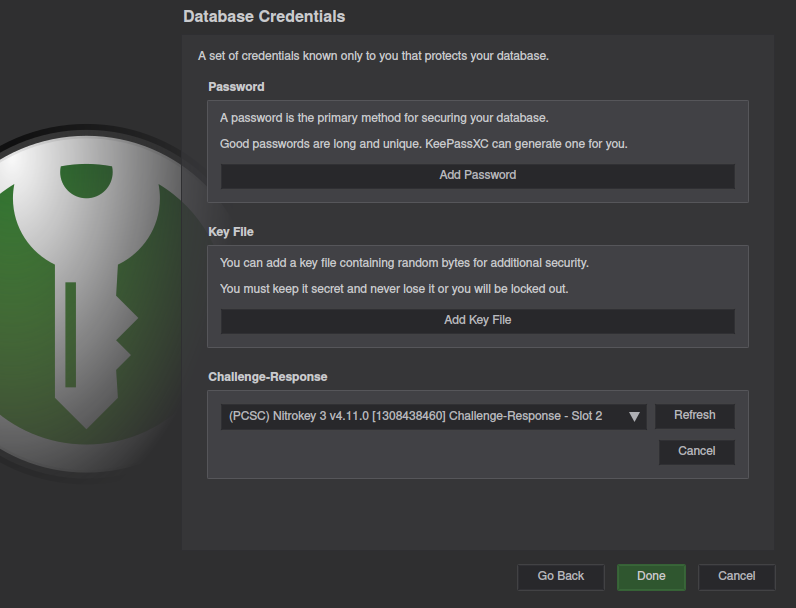
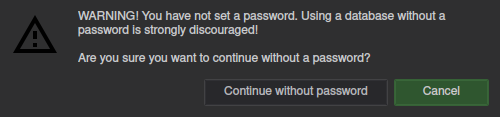
This will result in KeyPassXC confirming that you really want to proceed without a password.
Before adding passwords to your database, save it, lock it, and confirm you can open it again with your key.
If all goes well you’re free to fill up the database with all your passwords.
Existing Database
We recommend making a copy of your database. If something goes wrong and you lock yourself out, you’ll still have the old copy. Once you verify the you can unlock the new database with the new method, you can safely delete the old copy.
For enabling challenge-response on an existing KeePassXC database, you must first unlock the database using the current unlock method. The database must be unlocked before changing any of it’s security settings.
Once unlocked,
go to Database => Database Security in the main menu,
to change security settings.
From here, follow the same steps as in New Database. After verifying you can unlock your database, you can delete the old copy without the Nitrokey security.
Troubleshooting
If you’re having issues getting this to work, the problem could be either a misconfigured key, or a problem with KeePassXC. Let’s look at some solutions, from the ground up.
Nitrokey
If your Nitrokey is not detected by nitropy,
you may need to install the libfido2 package and Nitrokey udev rules
(available on the Nitrokey website).
If you’re having problems with creating the secret on the key, try the following steps.
If you’re using any Python version (older or newer) than 3.9 or 3.10, you may get the following Python error while using nitropy:
Critical error:
An unhandled exception occurred
	Exception encountered: AttributeError("module 'semver' has no attribute 'Version'")
If so, install/run nitropy with Python version 3.9 or 3.10, or create a python virtual environment, and running the commands again.
python3 -m venv nitrokey-venv
cd nitrokey-venv
./bin/activate
pip install pynitrokey
KeePassXC
If KeePassXC doesn’t detect the key, try these methods.
On Arch Linux we needed the pcscd service started.
Close all KeePassXC instances,
then run the following command.
sudo systemctl start pcscd.service
Afterwards, restart KeePassXC, and the key should be detected.