How to Install Nextcloud on Debian 10 Buster

Editor Note
This how-to is written for Debian 10 Buster, however it should also be applicable for Debian derivatives such as Ubuntu, and RaspberryPi OS.
- Intro
- Step 1: Install Required Dependencies
- Step 2: Create Nextcloud Database
- Step 3: Create Nextcloud Folder and Download Sources
- Step 4: Navigate to the Nextcloud Web Installer
- Step 5: Check Dependencies and Choose the Nextcloud Folder
- Step 6: Set up the Nextcloud Admin Account
- Step 7: Finish Installation
- Conclusion
Intro
Installing Nextcloud can seem like a daunting task, but it doesn’t have to be. We prepared this walkthrough using a Debian 10 Buster container on Proxmox, with 5 GB storage, and 1 CPU core. The minimum RAM requirement for Nextcloud is 2.0 GB, so we chose to use 2.5 GB of memory. A user account with sudo access has been set up, but otherwise no other changes were made from the base image.
Step 1: Install Required Dependencies
Nextcloud has many optional dependencies, however, the dependencies listed below are the minimum required to getting Nextcloud up and running.
You have some choice in which database and web server software to use, but we’ve chosen to use MariaDB and Apache.
sudo apt install mariadb-server apache2 php libapache2-mod-php php-xml php-curl php-mysql php-mbstring php-zip php-gd curl
Afterwards restart Apache so the modules take affect.
sudo systemctl restart apache2
Step 2: Create Nextcloud Database
Next we need to set up the database for use with Nextcloud. Enter the MySQL environment.
sudo mysql -uroot
Choose a memorable username, password, and database name. We’ll need these later.
CREATE USER 'username'@'localhost' IDENTIFIED BY 'password';
CREATE DATABASE IF NOT EXISTS nextcloud CHARACTER SET utf8mb4 COLLATE utf8mb4_general_ci;
GRANT ALL PRIVILEGES on nextcloud.* to 'username'@'localhost';
FLUSH privileges;
Step 3: Create Nextcloud Folder and Download Sources
Create the folder Nextcloud will reside in.
sudo mkdir /var/www/html/nextcloud
Download the Nextcloud install script to this new location.
sudo curl -Lo /var/www/html/nextcloud/setup-nextcloud.php https://download.nextcloud.com/server/installer/setup-nextcloud.php
Give folder ownership to the the web server user.
sudo chown -R www-data:www-data /var/www/html/nextcloud
Step 4: Navigate to the Nextcloud Web Installer
Now direct your browser to the file,
using either hostname or IP address.
The hostname of our Nextcloud computer is cloud,
so for us, the URL is
http://cloud/nextcloud/setup-nextcloud.php
If you get a screen that looks like this, then congrats! You’ve set up the web server correctly.
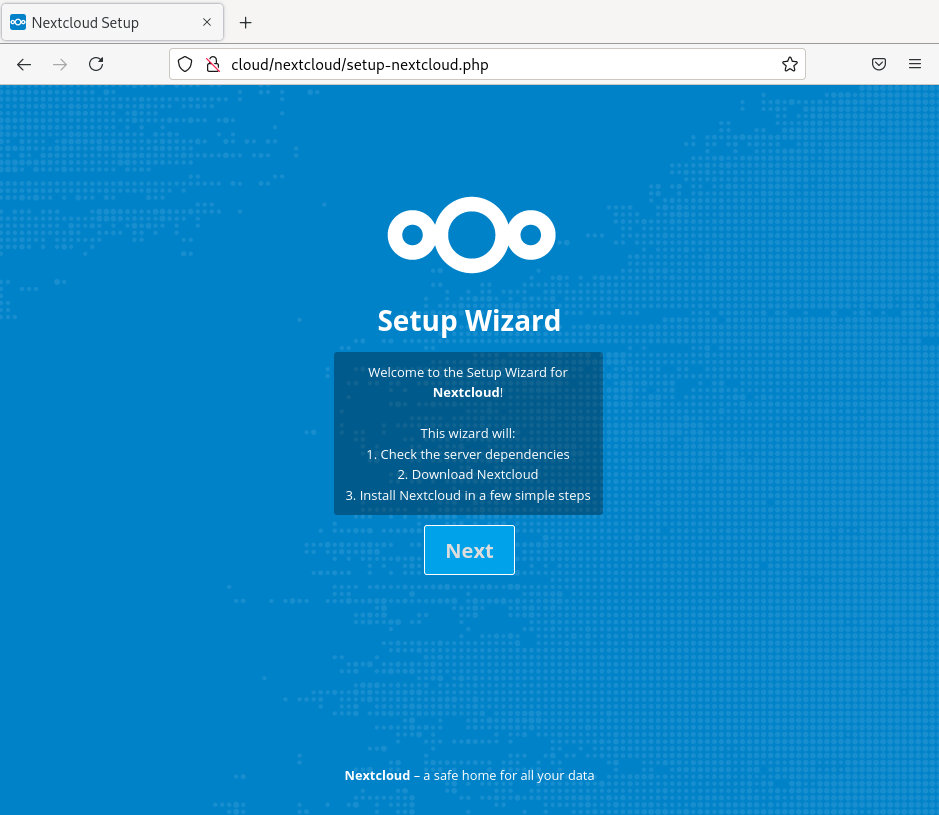
Hit the next button.
Step 5: Check Dependencies and Choose the Nextcloud Folder
This should be the next screen if all dependencies are installed. If you missed a dependency, go ahead and install it now.
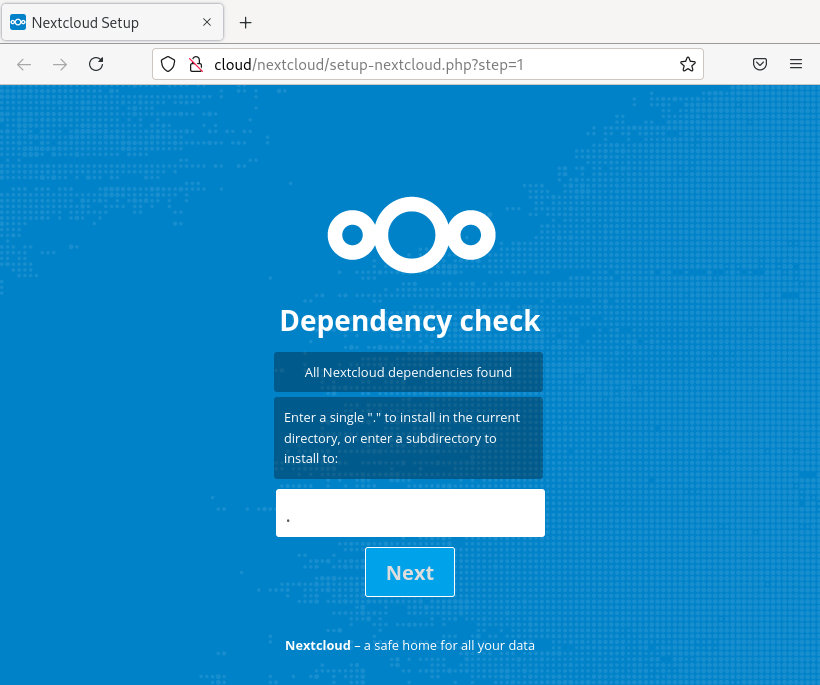
We are already within a nextcloud folder,
so there’s no need to create another.
Delete the word nextcloud,
on this screen,
and enter a single period .,
just like the message says.
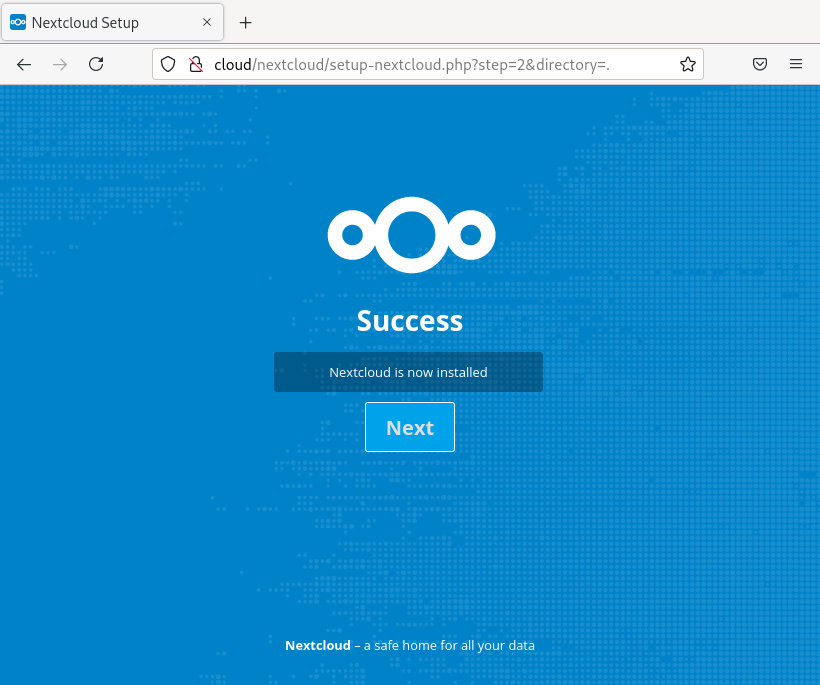
After pressing next,
wait for awhile.
Nextcloud is downloading necessary files,
and setting up configuration.
Eventually you’ll receive a success screen.
Step 6: Set up the Nextcloud Admin Account
On the next page you’ll set up admin login.
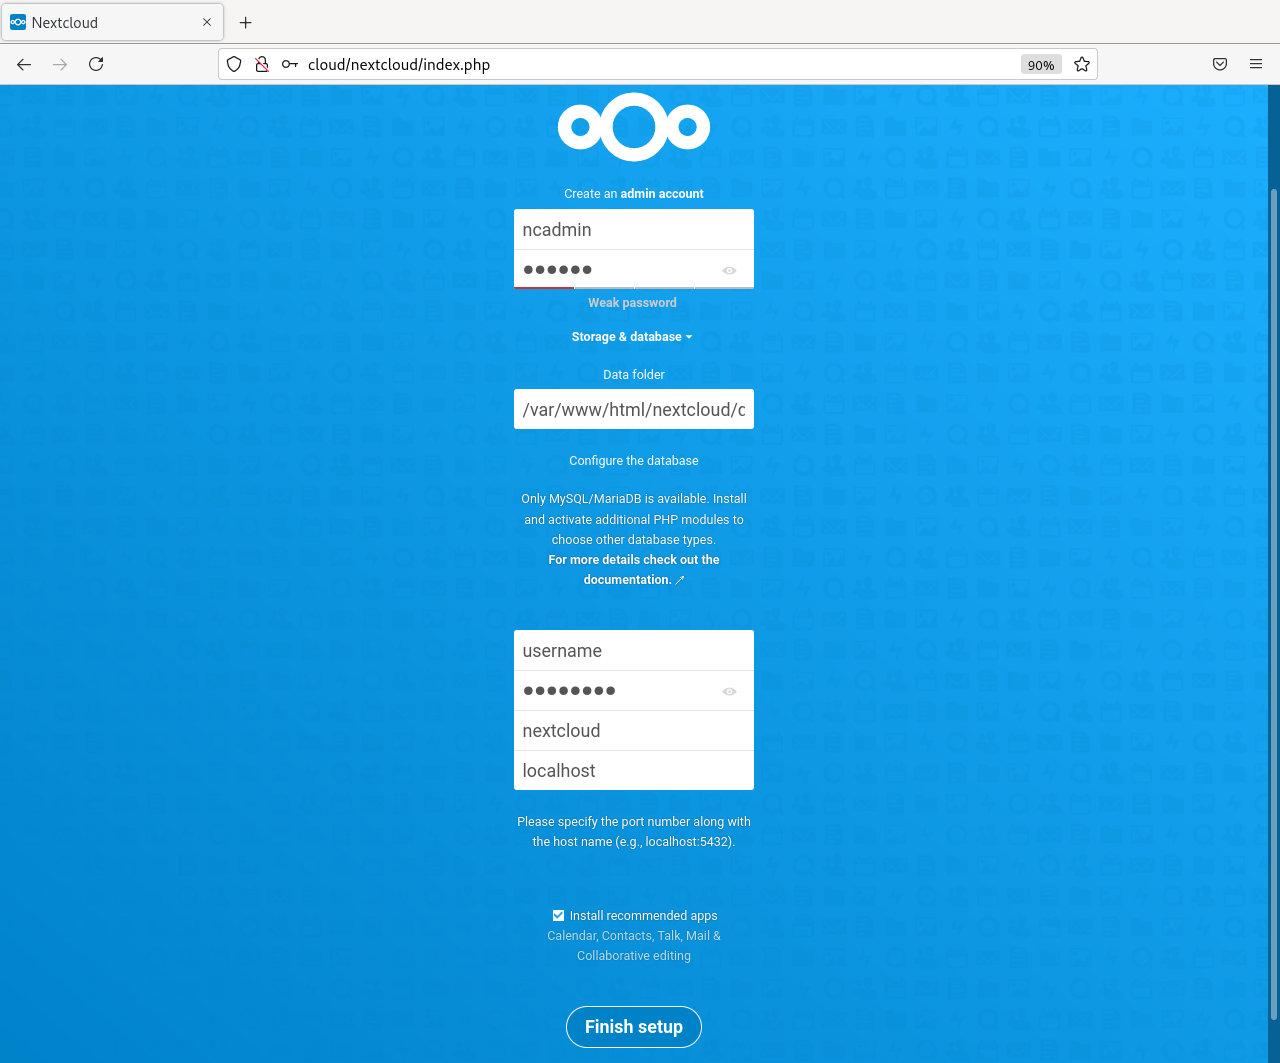
Think of a Nextcloud admin username and password. This login is different than the MySQL credentials set up earlier. The Nextcloud admin account is the administrator for the Nextcloud web app.
Towards the bottom is where the database connection is specified. Use the username, password, and database name chosen when setting up the database.
Step 7: Finish Installation
Finish setup and wait a bit longer. Eventually you’ll see the following screen.
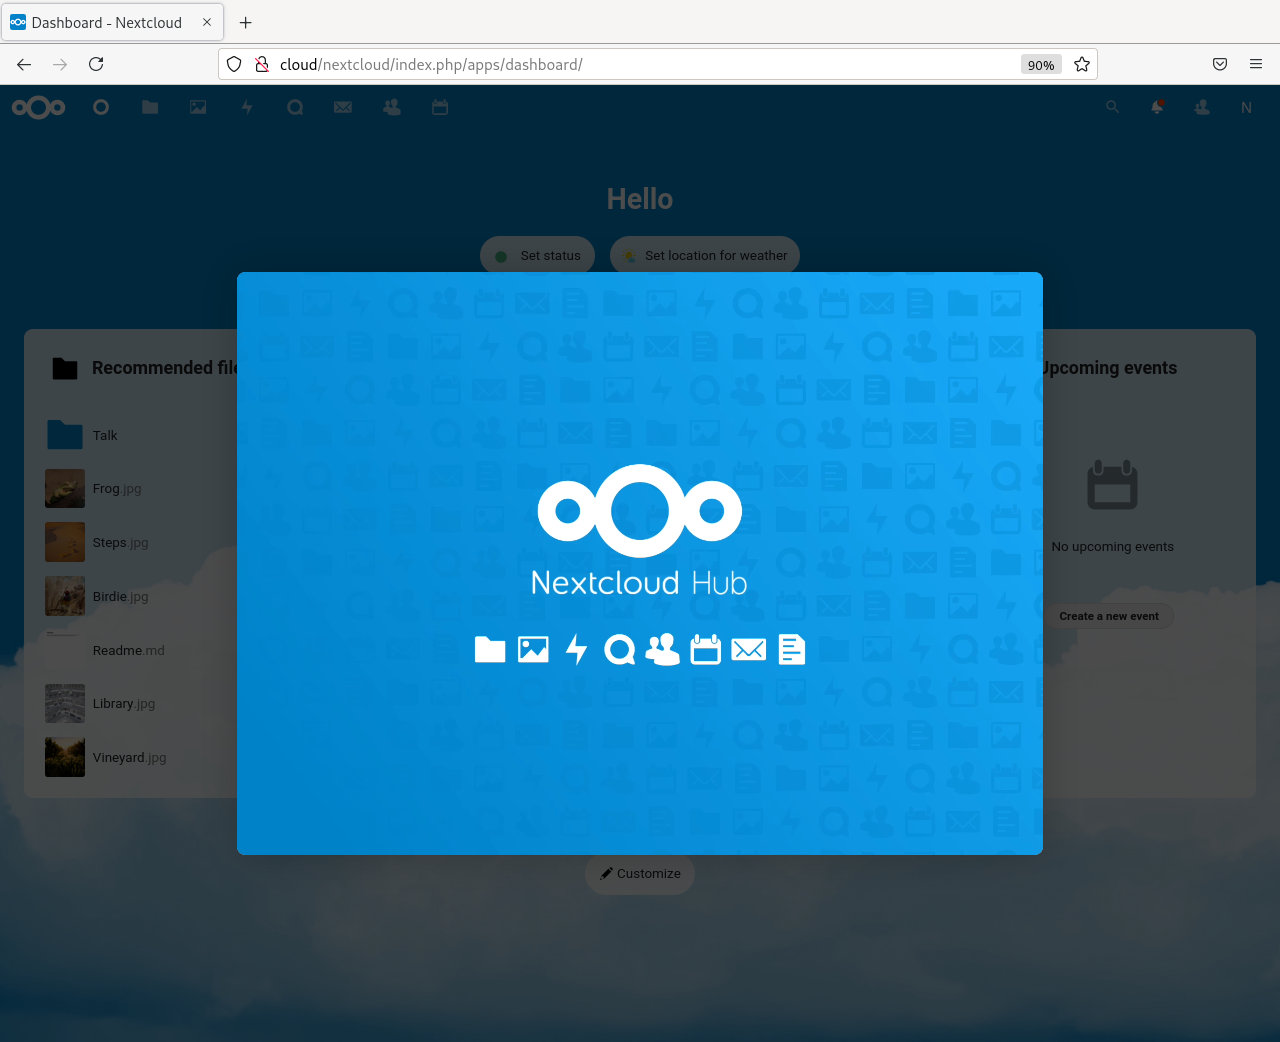
You can now enjoy your new Nextcloud installation.
Conclusion
Good job! You’ve successfully installed Nextcloud on a Debian 10 server. Now, there are a few things left you might want to do.
- Harden your install
- Set up remote access so it’s reachable from the internet
- Browse the available Nextcloud Apps and Extensions, to view additional features.
- Set up a domain and/or vhost just for Nextcloud.